

Replace the Knobs on Your Rowsfire Overhead Panel
Everything you need — compatibility, removal, installation, and FAQs — all in one place.
About the Upgraded Knobs
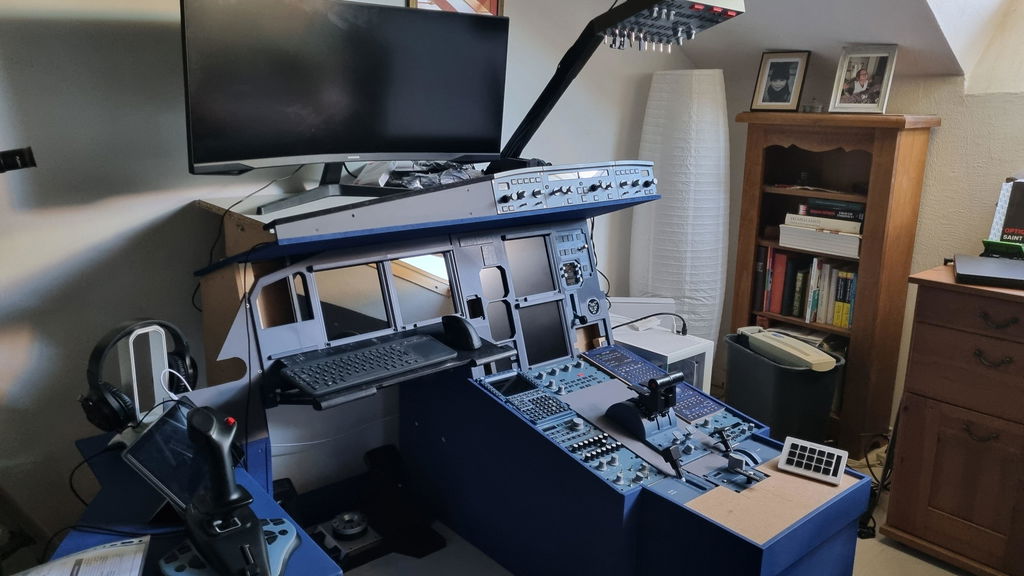
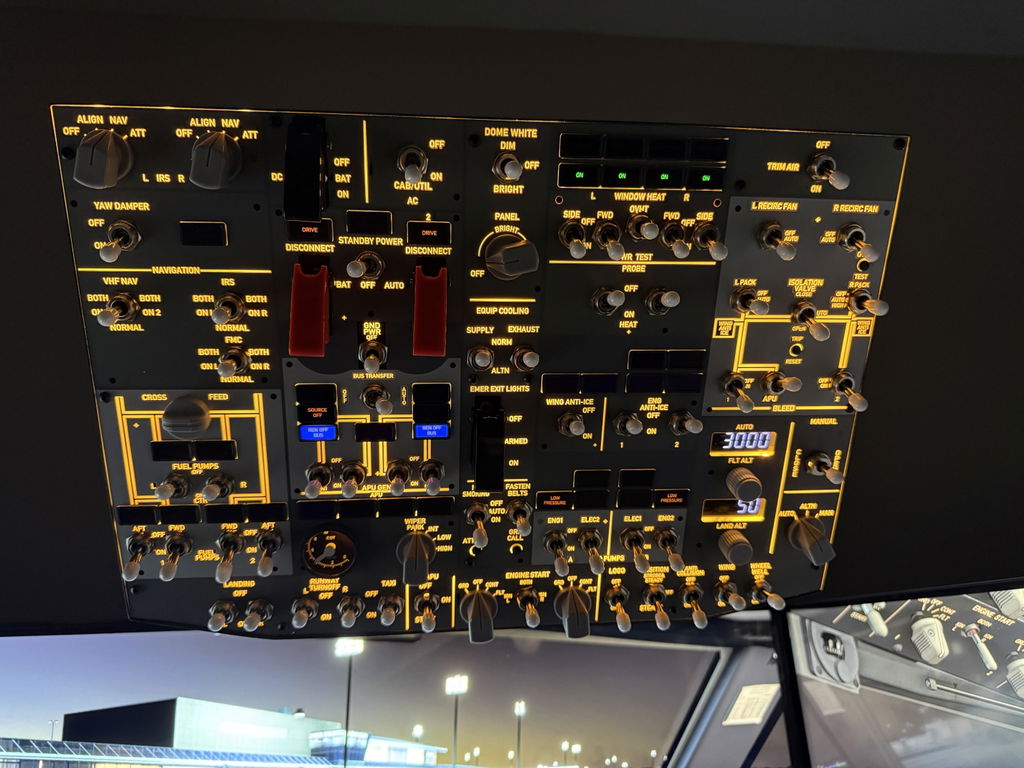
Rowsfire has released a new generation of injection-molded replacement knobs for their A-Series overhead panels. These upgraded knobs deliver improved tactile feel, better durability, and a more realistic cockpit appearance compared to the earlier versions.
The knobs themselves are completely free. You only pay a flat $20 international shipping fee.
The $20 charge on the product page covers international shipping only. The knobs carry no additional cost.
Panel Compatibility & Knob Types
There are two knob types — Type A and Type B. Use the table below to confirm which types and quantities apply to your panel.
This service only fits: A107 / A109 / A106 / A101 / A112 / A113. Other models are not supported.
| Panel Model | Type A | Type B | Knob Type(s) |
|---|---|---|---|
| A107 | 5 | 1 | A + B |
| A109 | 4 | 2 | A + B |
| A106 | 1 | — | Type A only |
| A101 | — | 1 | Type B only |
| A112 | — | 1 | Type B only |
| A113 | — | 2 | Type B only |
Maximum 20 knobs per order. Rowsfire will verify your order history before shipment.
Do I Need the Replacement Service?
Not everyone needs to apply. Check your dispatch date first.
If your order was dispatched from March 2 onwards, the latest injection-molded knobs were already included. No replacement needed.
If your order shipped before March 2, you likely received the original knobs and may want to apply for the upgrade via the replacement service.
How to Order the Replacement Knobs
Go to the Knob Replacement product page and click Add to Cart.
Proceed to your Cart — do not go directly to checkout.
In the order note / cart note field, specify your exact quantities:
Type A knobs: __ Type B knobs: __Reference the compatibility table above to confirm the correct quantities for your panel model.
Complete checkout. Rowsfire will verify your order history before shipping.
Without a note specifying Type A and Type B quantities, your order cannot be fulfilled correctly.
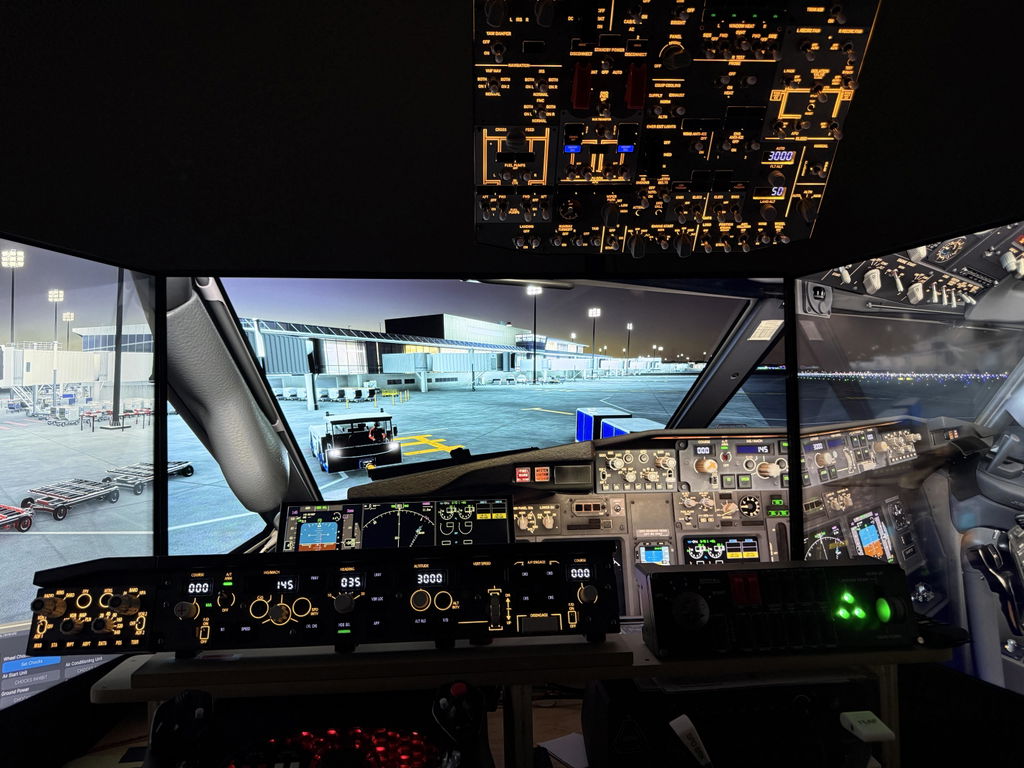
Removing Old Knobs & Installing New Ones
Rowsfire has prepared a full step-by-step tutorial. Download it via the link below before starting.
Access the full guide here: Rowsfire Knob Installation Tutorial. Includes reference diagrams and visual instructions.
Removing the Old Knobs
Power off your panel. Disconnect the USB cable before handling any components.
Grip the knob firmly. Rowsfire knobs are press-fit onto the encoder shaft — no screws. Pull straight up with even, gentle pressure.
Wiggle slightly if stuck. Rock gently side-to-side while pulling upward. Do not force or lever — this can damage the encoder shaft.
Inspect the shaft once the knob is removed to confirm it is undamaged before proceeding.
Installing the New Knobs
Confirm knob type. Verify you have the correct Type A or Type B for each position using the table in Section 02.
Align with the shaft. Match the D-shaped flat inside the knob's bore to the flat side of the encoder shaft.
Press straight down firmly. Apply steady downward pressure until the knob seats fully. Do not twist while pressing.
Test rotation. Spin the knob to confirm smooth movement and no wobble. If loose, remove and reseat.
Reconnect and test all replaced knobs in your simulator before flying.
For a tight knob, place a cloth beneath it and use two fingers on opposite sides to pull upward evenly — this protects the encoder shaft from stress.
Frequently Asked Questions
Still Have Questions?
The Rowsfire support team is ready to help you get your cockpit running perfectly.
service@rowsfire.com Contact Page