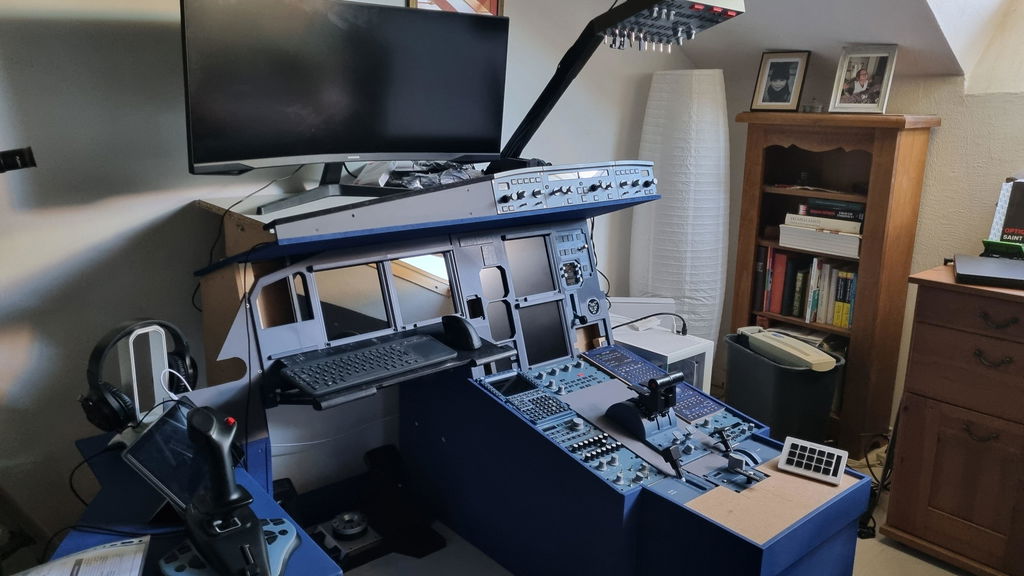


When building a flight simulation cockpit, choosing the right panel mount is crucial. The right mount not only improves your operational experience but also prevents panel movement or awkward handling. Today, we’ll break down several mounts designed for Rowsfire panels to help you make the best choice.
1. Mount 1: Rowsfire Pneumatic 4-Axis Base Stand
View Product
-
Compatible Panels: Rowsfire top panels (A107, B107)
-
Load Capacity: <6kg
-
Pros: Easy installation, no tools required
-
Cons: Limited height, cannot reach overhead/top positions
-
Best Use: Desktop setups or low-level mounting

If your panel is lightweight and you don’t need overhead operation, this mount is a simple and convenient solution. It provides stable support with minimal installation effort.
2. Mount 2: Rowsfire Adjustable Desk Clamp Mount
View Product
-
Components: Base + Height Pole + Clamp (most users choose 3-section clamp, 105cm total length)
-
Compatible Panels: A107, B107
-
Pros:
-
Supports high-mount positions, allowing overhead operation
-
Matches seat height and operational comfort
-
Adjustable height for different desks and chairs
-
-
Cons: Slightly more complex installation

If you want full overhead access or a cockpit setup that matches your seat perfectly, this mount is the top recommendation. The three-section design provides both stability and flexibility.
3. Mount 3: Rowsfire Custom Aluminum Desk Stand
View Product
-
Compatible Panels: All desktop panels except B107 (too large)
-
Pros:
-
Strong stability, prevents panel movement
-
Ideal for small panels like A105 Radio Panel or A103 Landing Panel
-
Works as a transition mount for A111, A112, and A113 if you don’t have a full cockpit yet
-
-
Cons: Not suitable for oversized panels like B107

If you frequently struggle with panel displacement or awkward positioning, this mount solves that problem and prepares your setup for a future full cockpit.
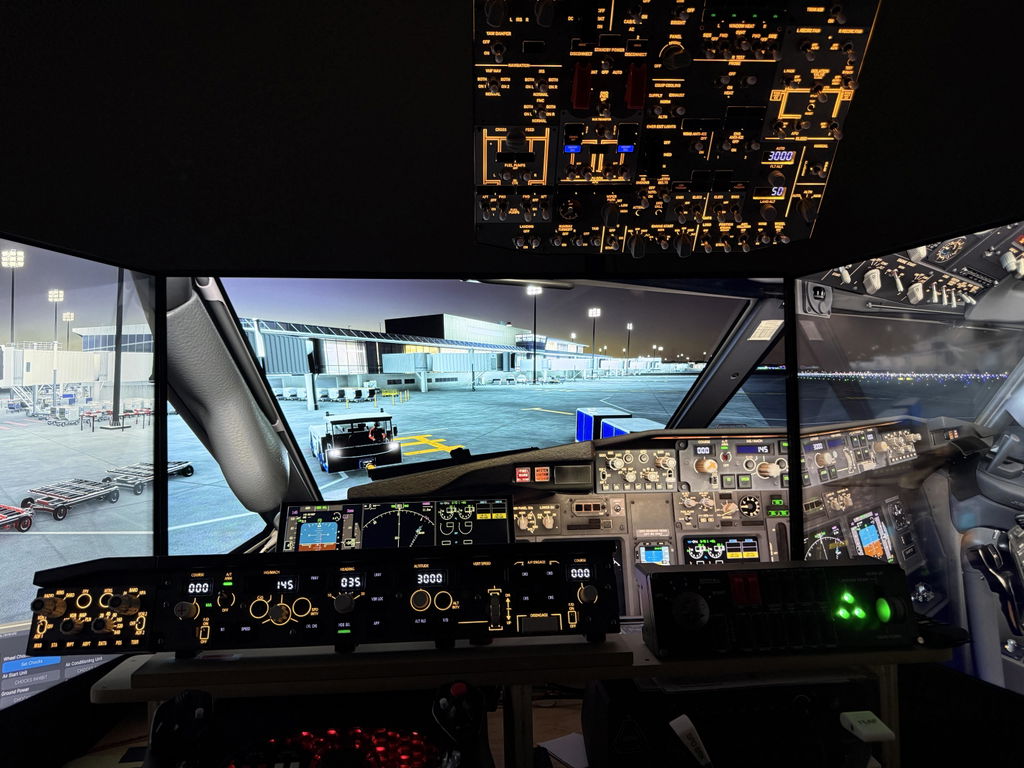
Future Outlook: Full Cockpit Frame
Exciting news: Rowsfire may release a full cockpit frame in the future! This would allow you to integrate all your panels into one immersive setup. Stay tuned.
Mount Selection Summary
| Mount | Compatible Panels | Pros | Cons | Best Use |
|---|---|---|---|---|
| Mount 1 | A107, B107 | Easy installation | Limited height | Desktop / low-level setup |
| Mount 2 | A107, B107 | High mount, overhead access | More complex | Immersive overhead operation |
| Mount 3 | All panels except B107 | Stable, prevents displacement | Not for large panels | Small panels / transitional setup |
When choosing, consider panel weight, desired operational height, and available desk space. For A107 and B107, Mount 2 is recommended; for smaller panels or transitional setups, Mount 3 is ideal.

If this guide helped you, leaving a 5-star review would be amazing! Your support not only encourages us to keep providing high-quality content, but also gives you a discount on your next panel mount selection.
⭐Leave a 5-Star Review
🛒Related supporting flight simulation hardware
🚀Discount code: Daniel12
Thank you for your support—let’s build a more professional and comfortable flight simulation experience together!