

New to Airbus Home Cockpit? Start Here — The Beginner's Build Guide
Every serious Airbus home cockpit starts with one decision: what do I buy first? The answer is almost always the overhead panel — it covers the most systems, creates the biggest visual impact, and sets the foundation for everything that comes after. This guide walks you through the exact build order, panel by panel, with prices.
Why the overhead panel is your first buy
New sim pilots often begin with the FCU or throttle. Experienced builders almost always recommend starting with the overhead panel instead. It manages fuel, electrical buses, bleed air, anti-ice, pressurization, lighting and fire detection — critical functions both before engine start and in flight. Without it, you're either ignoring those systems or hunting the virtual cockpit with a mouse.
It also delivers the most visible upgrade. Backlit and mounted above your monitors, the overhead turns a PC setup into an authentic flight deck — and changes how seriously you fly.
Step 1 — The A107: your foundation
The A107 is the panel every Airbus build starts with. It covers the core overhead systems — lighting, fuel, electrical, bleed air, hydraulics, anti-ice, pressurization and fire detection — in a backlit aluminium housing with VESA mounting.
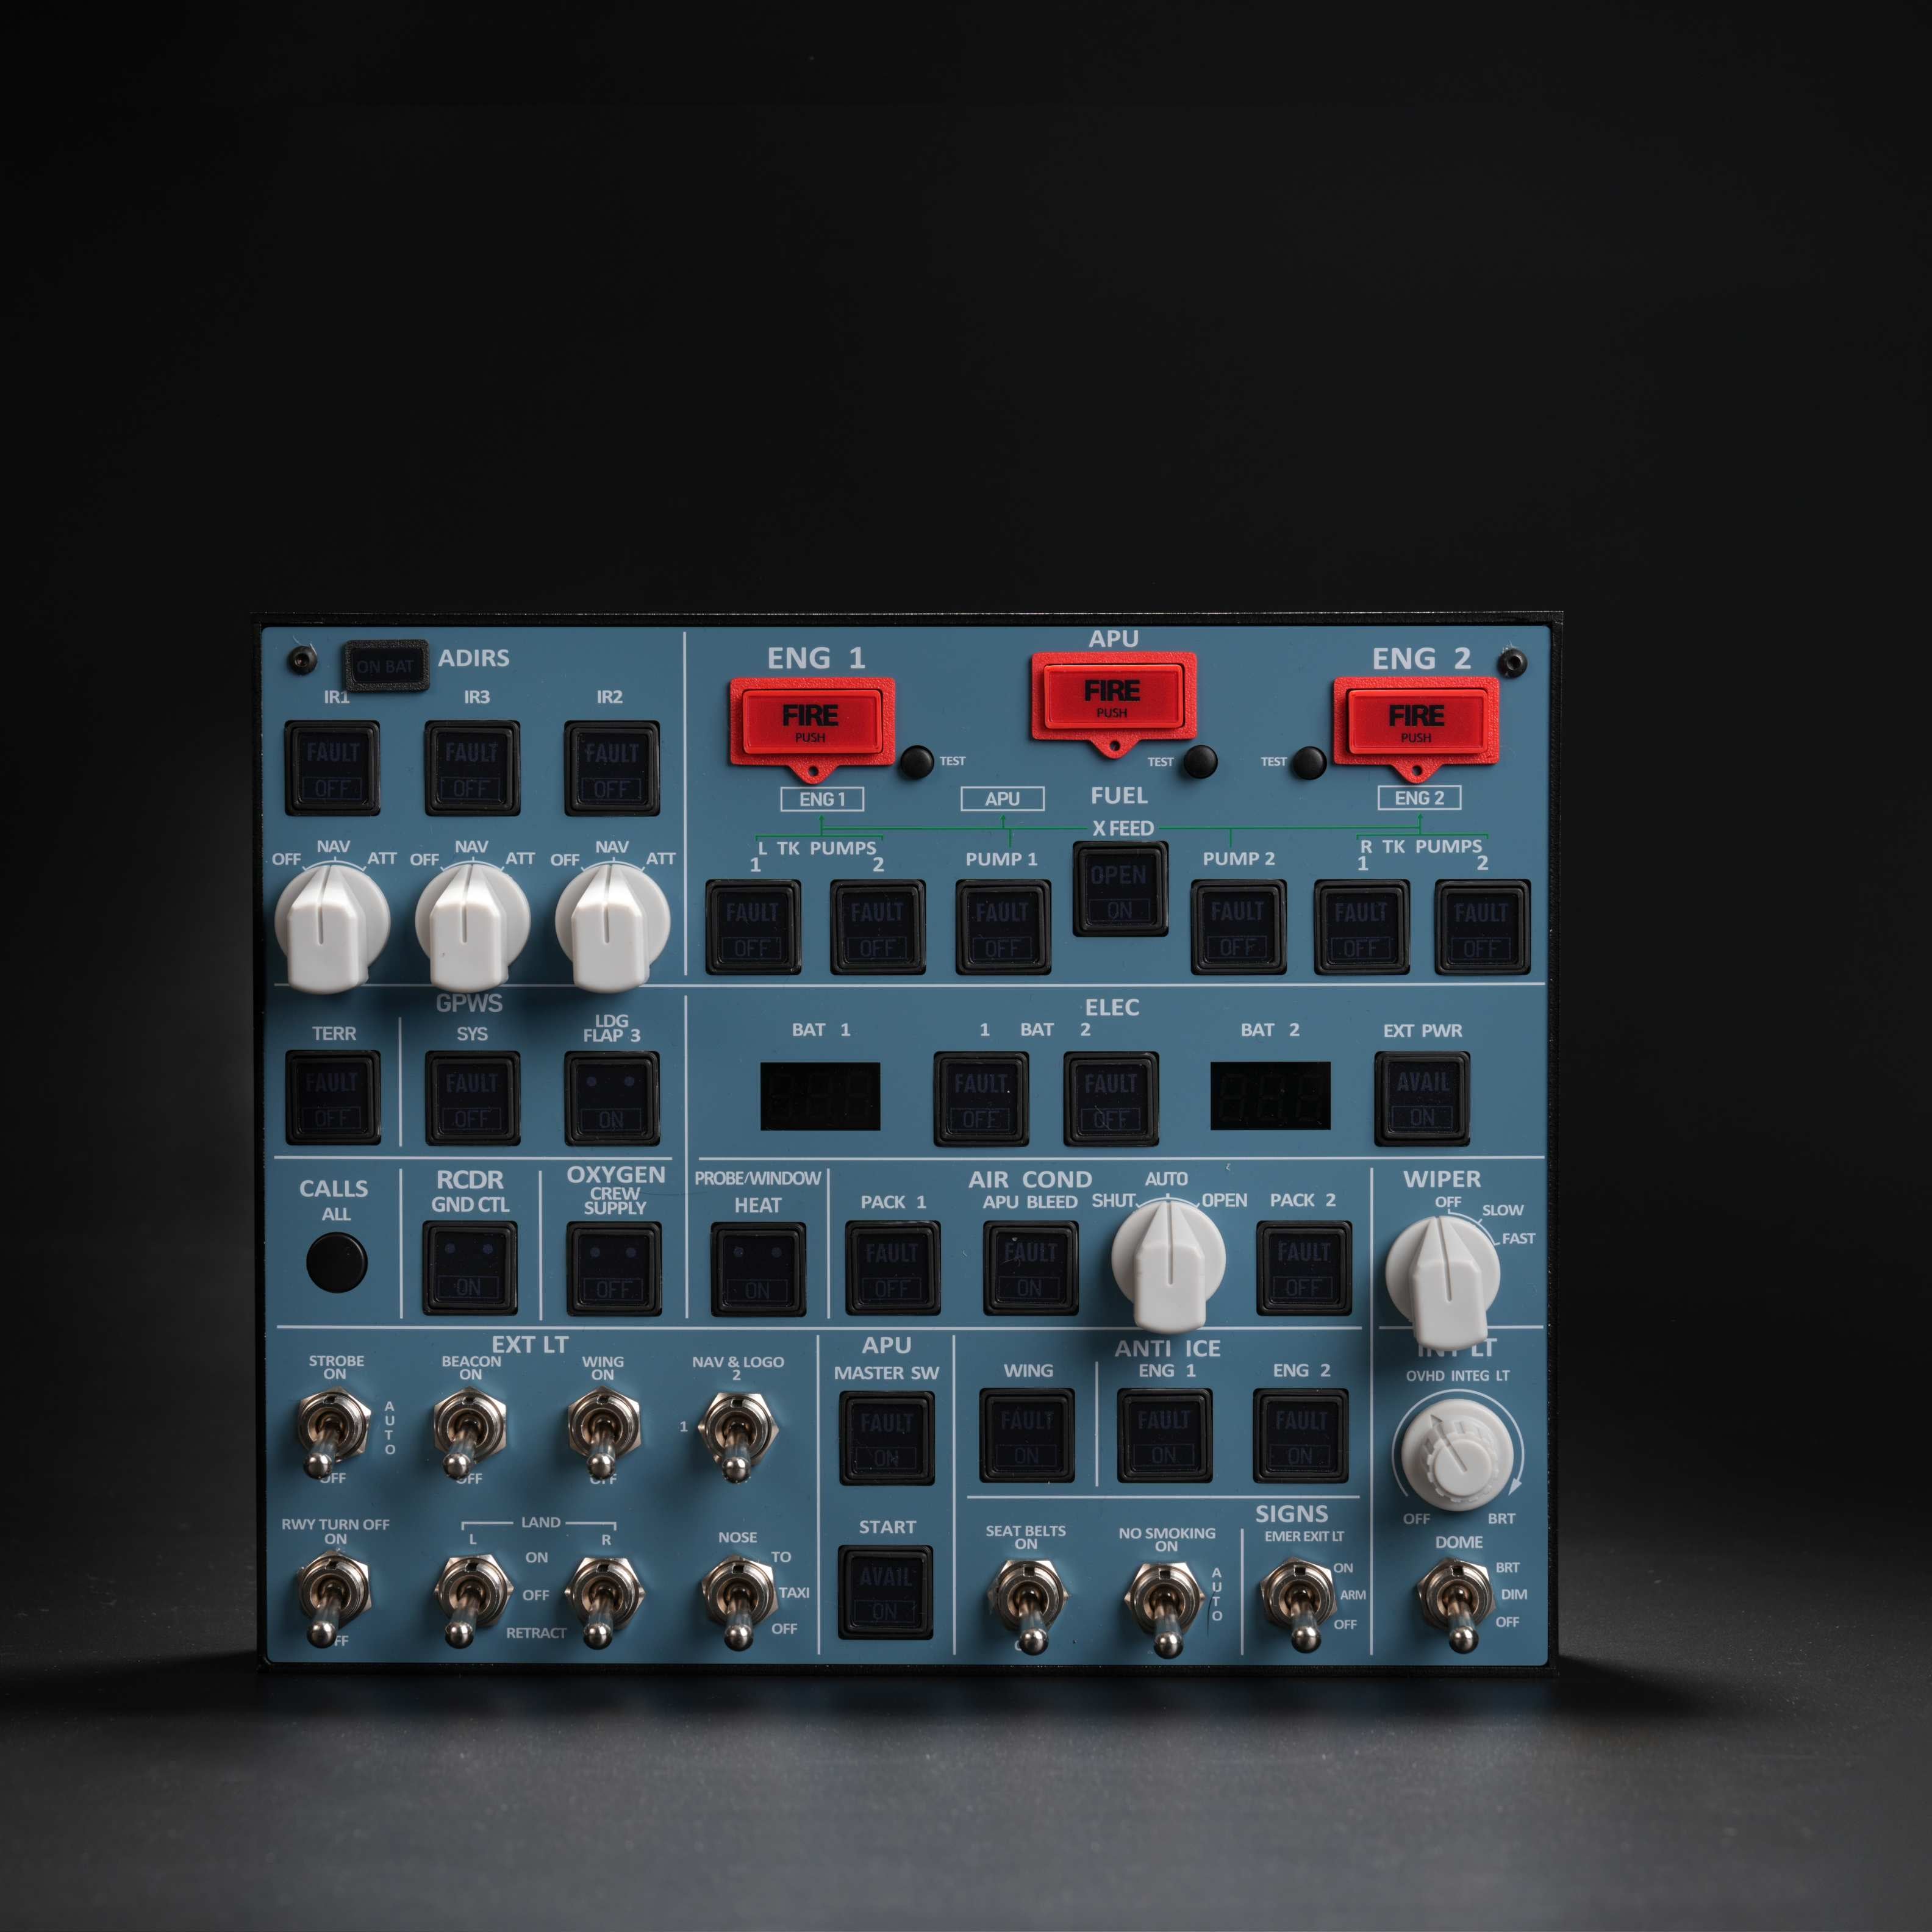
Your foundation panel: all core overhead systems, backlit aluminium build, VESA mount. Connects via USB and the Rowsfire App — no MobiFlight required for basic use.
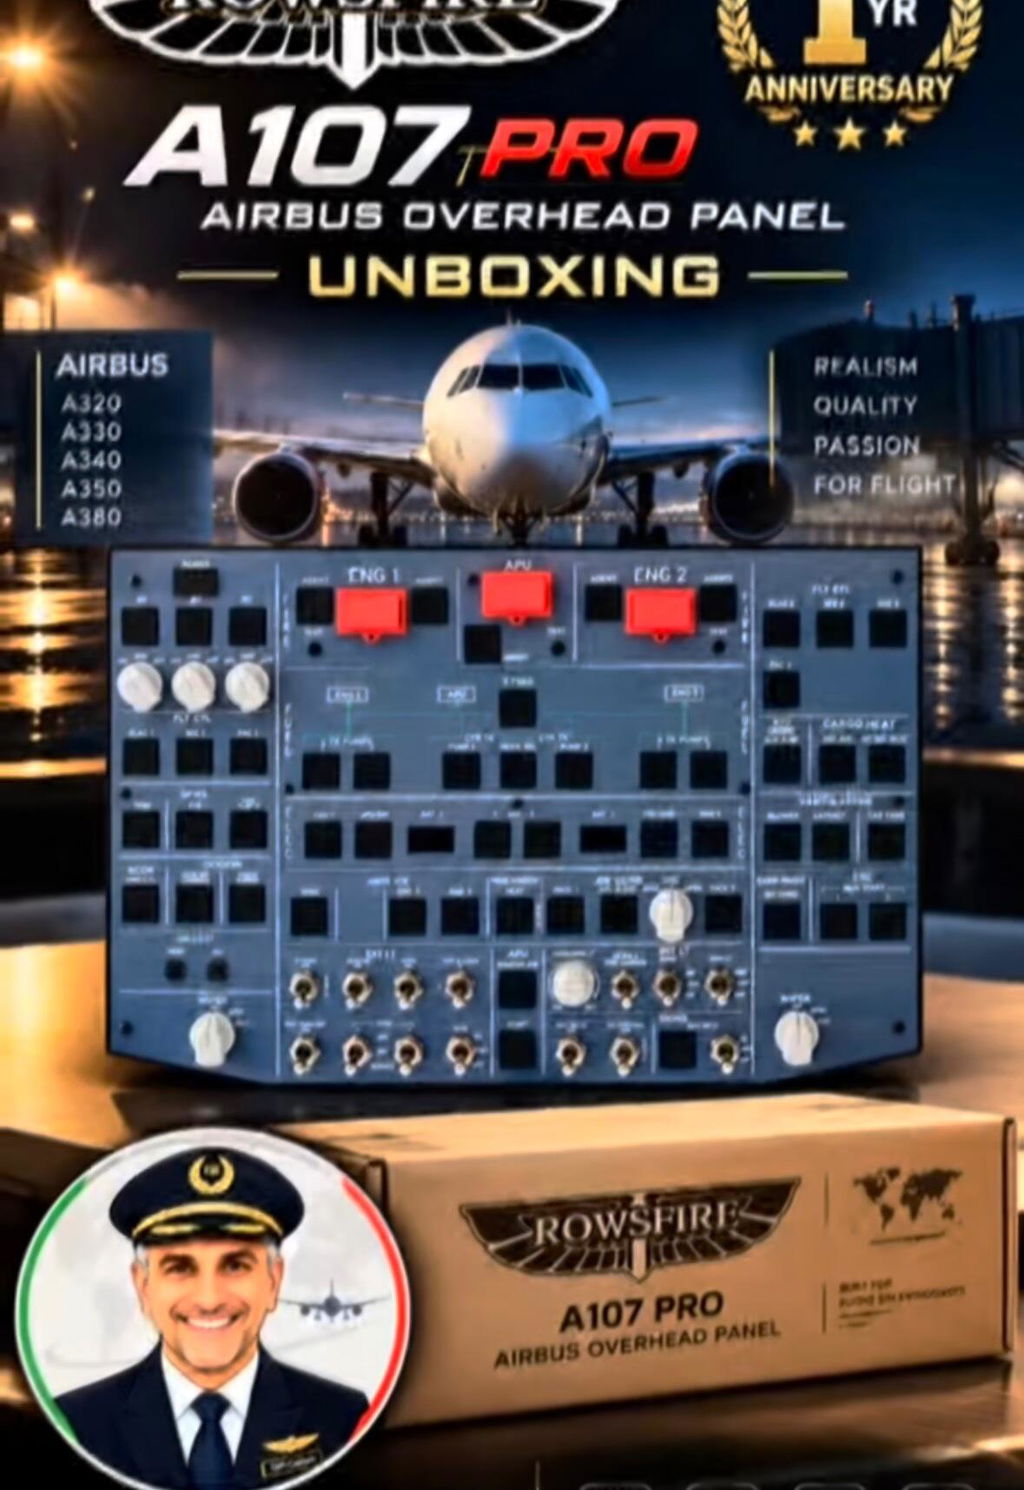
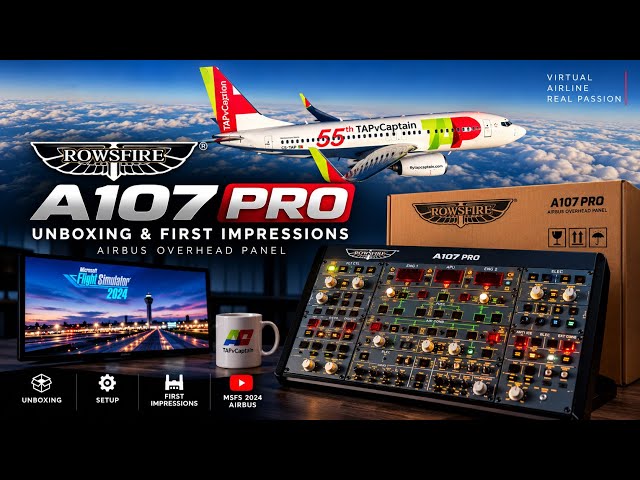
A107 vs A107 Pro: the A107 V3.1 ships immediately. The A107 Pro (pre-sale) is larger, with expanded system sections for pilots who want maximum overhead coverage. Both run on the same Rowsfire App and add-on compatibility, and both held stable in sessions over 3 hours without disconnecting.
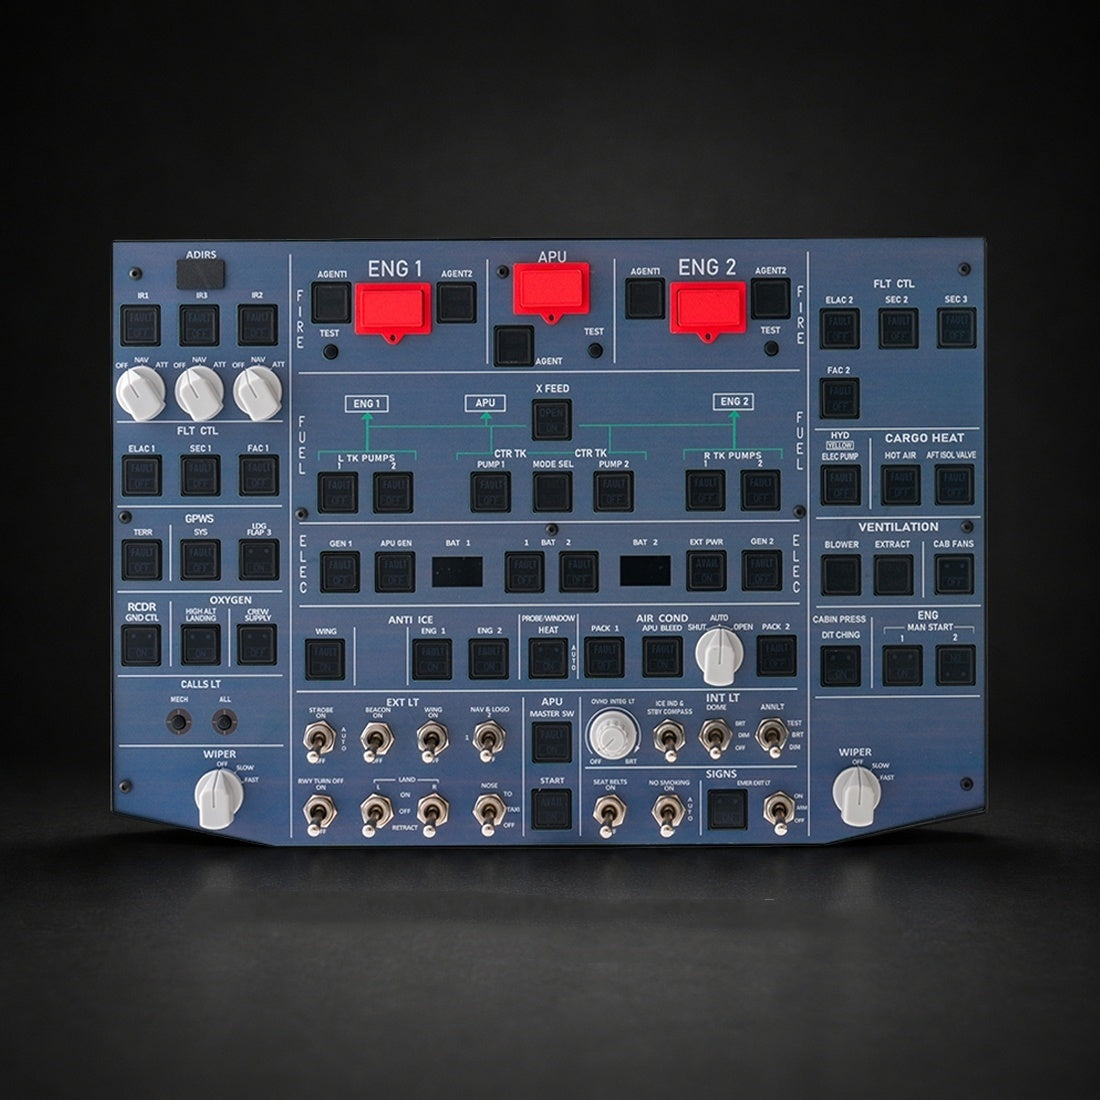
A larger overhead with expanded system coverage and more switches than the V3.1 — for pilots who want the most complete A320 overhead. Same app and add-on support.
Step 2 — The centre console panels
With the overhead in place, the centre console unlocks proper radio management, cockpit lighting and ATC. Two A111 units flank the console (captain + first officer), with the A112 and A113 between them.
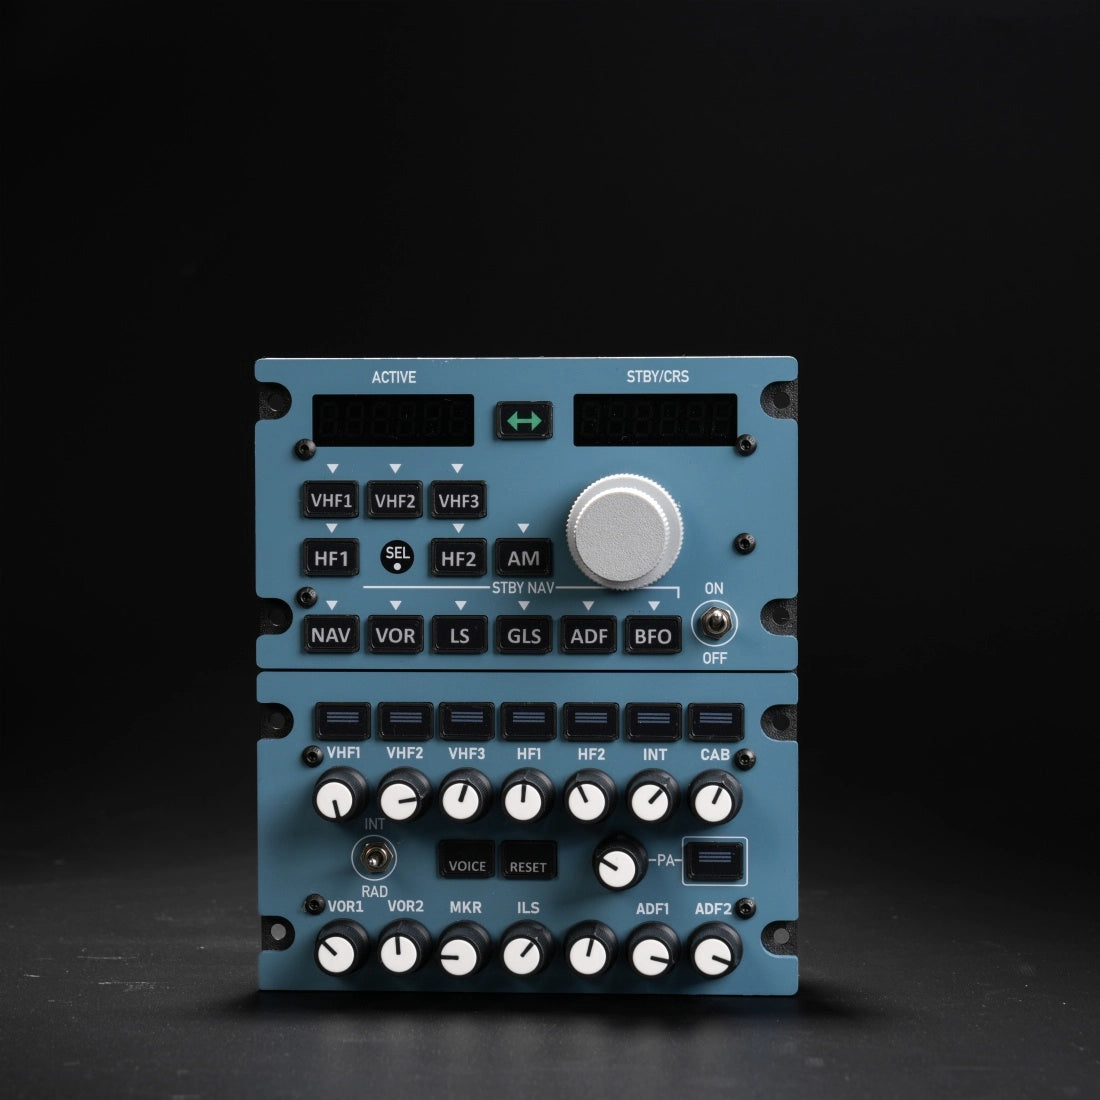
True 1:1 scale radio management (VHF1/2/3, HF1/2, NAV, ADF) plus audio control. Buy two for the captain and first-officer stations.
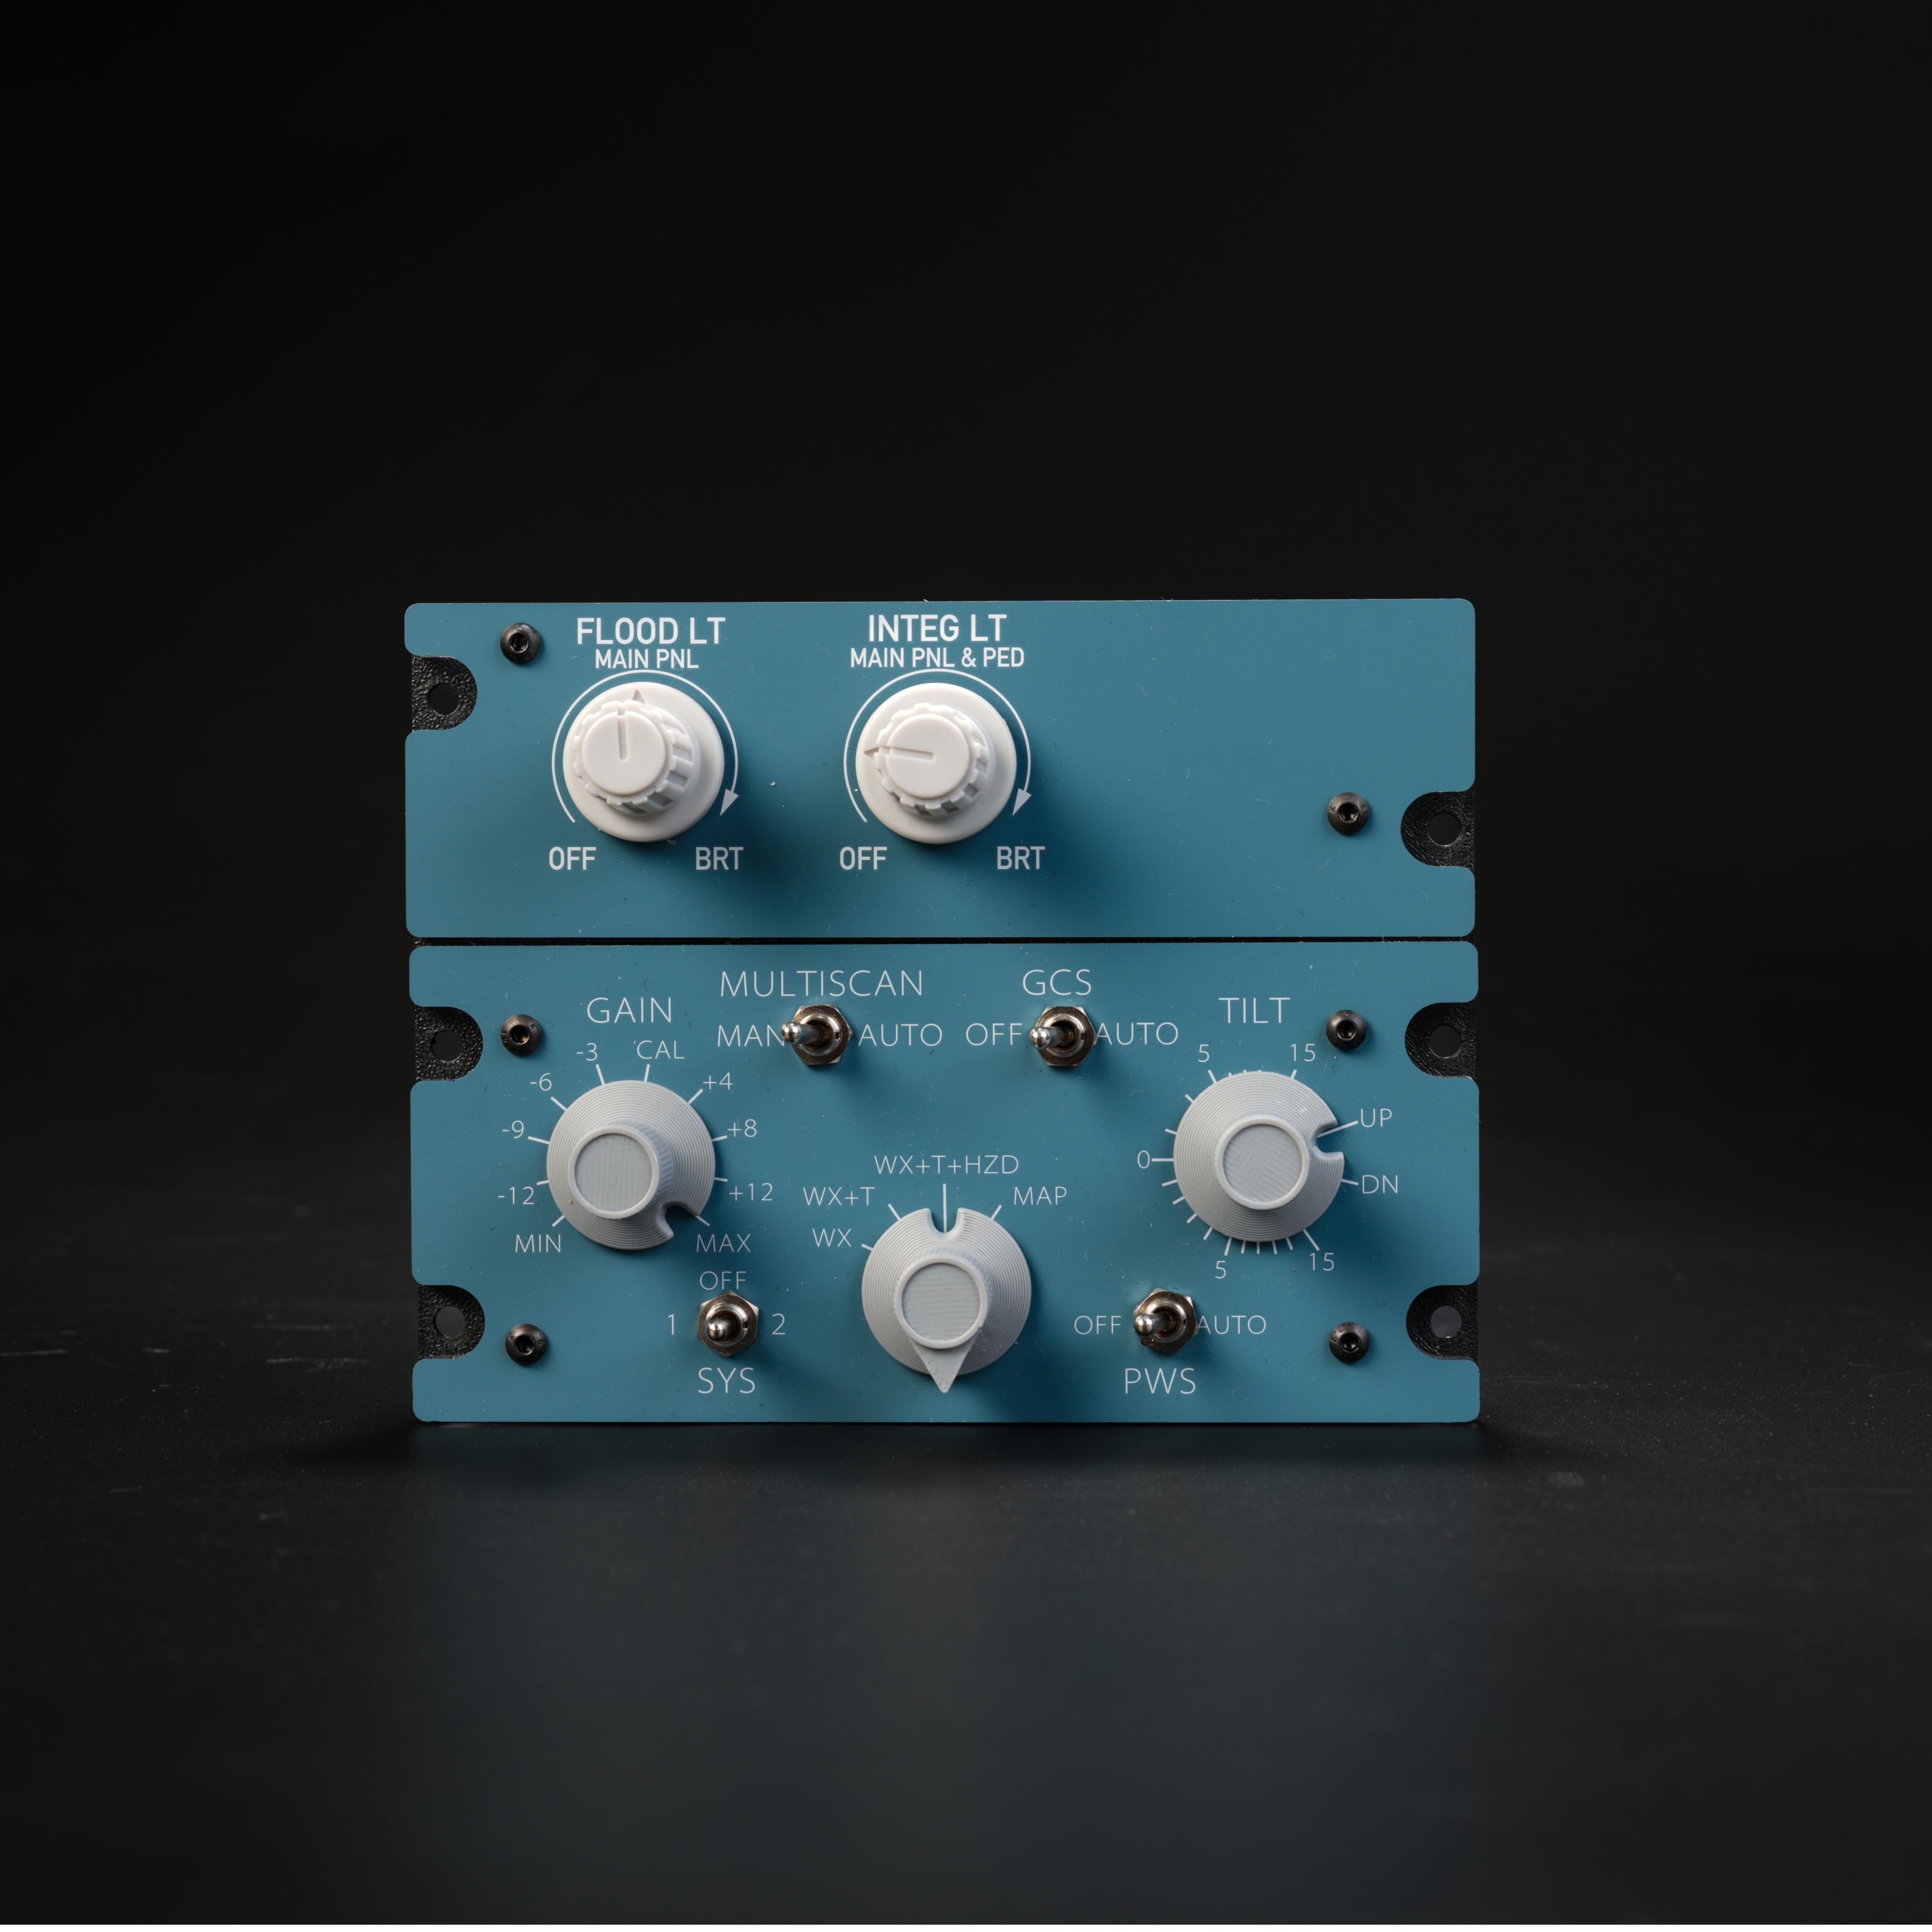
Cockpit ambient lighting plus weather-radar tilt/gain (functional in Fenix and FBW). Sits between the two A111 units.
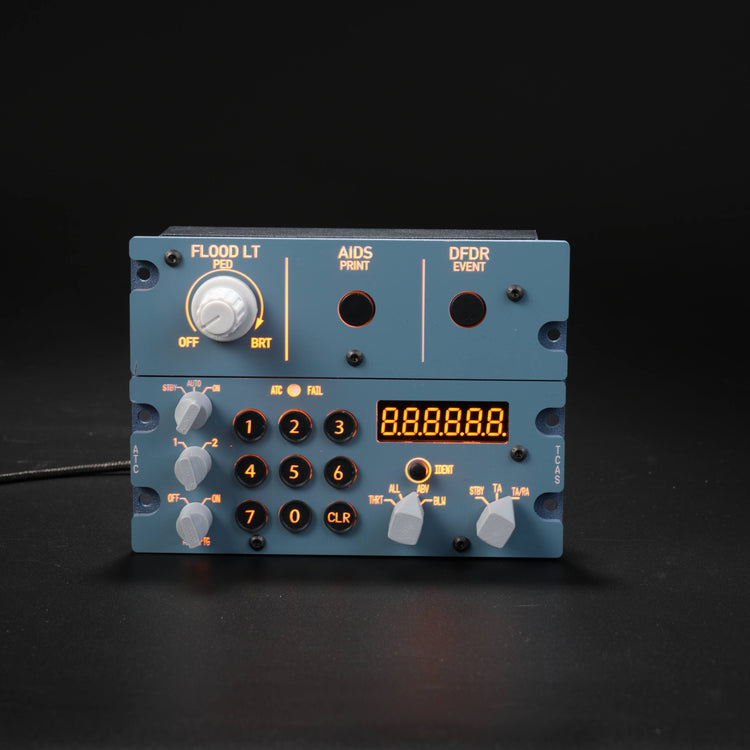
Combines cockpit lighting, DFDR and the ATC transponder to complete the lower centre console alongside the A112.
Step 3 — The A108: give your instruments their own screen
Once the switches are physical, move your instruments off the main monitor. The A108 is a dedicated 12.3" touch panel that relocates the PFD, ND, ECAM and EWD to their own display.
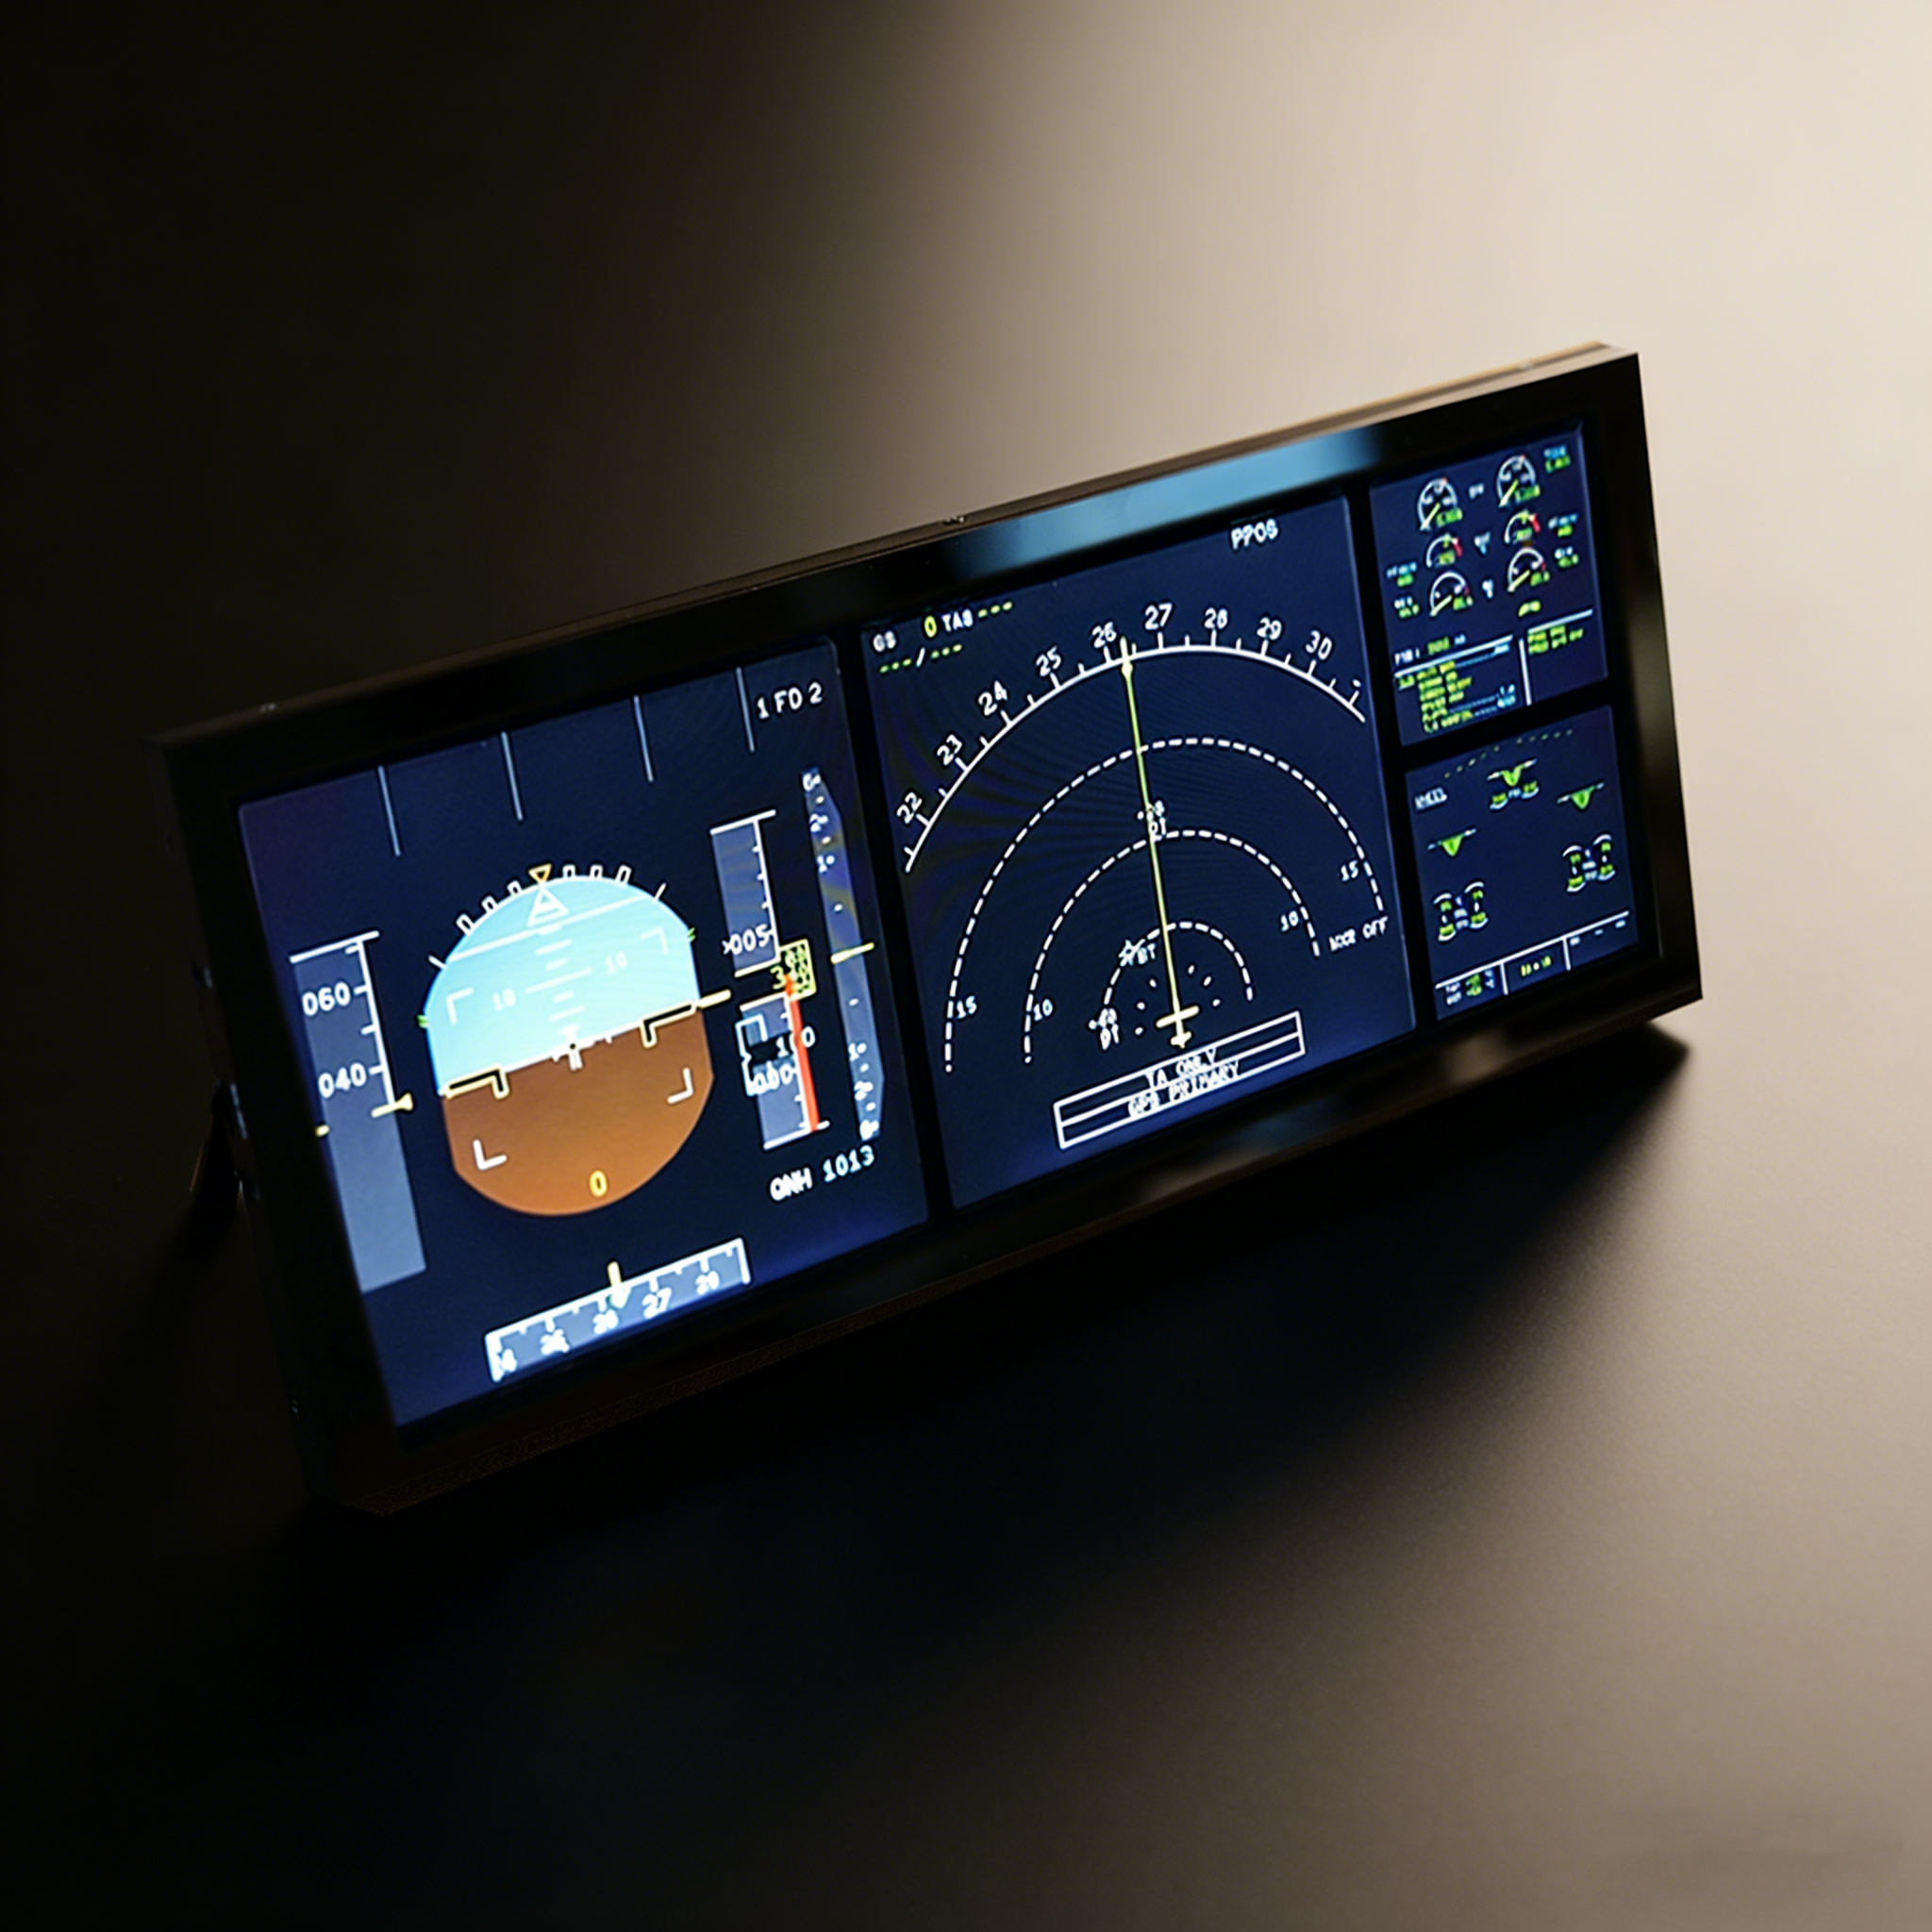
A 12.3" laminated touch display (1920×720, Airbus-accurate proportions) in a full-metal housing with a desktop stand and VESA mount. This is what makes it feel like a cockpit, not a sim setup.
Step 4 — The A109: for the serious builder
The finishing panel. The A109 adds attitude, ADIRS alignment and EIS display selection — the three sections that complete the A320 overhead alongside the A107.
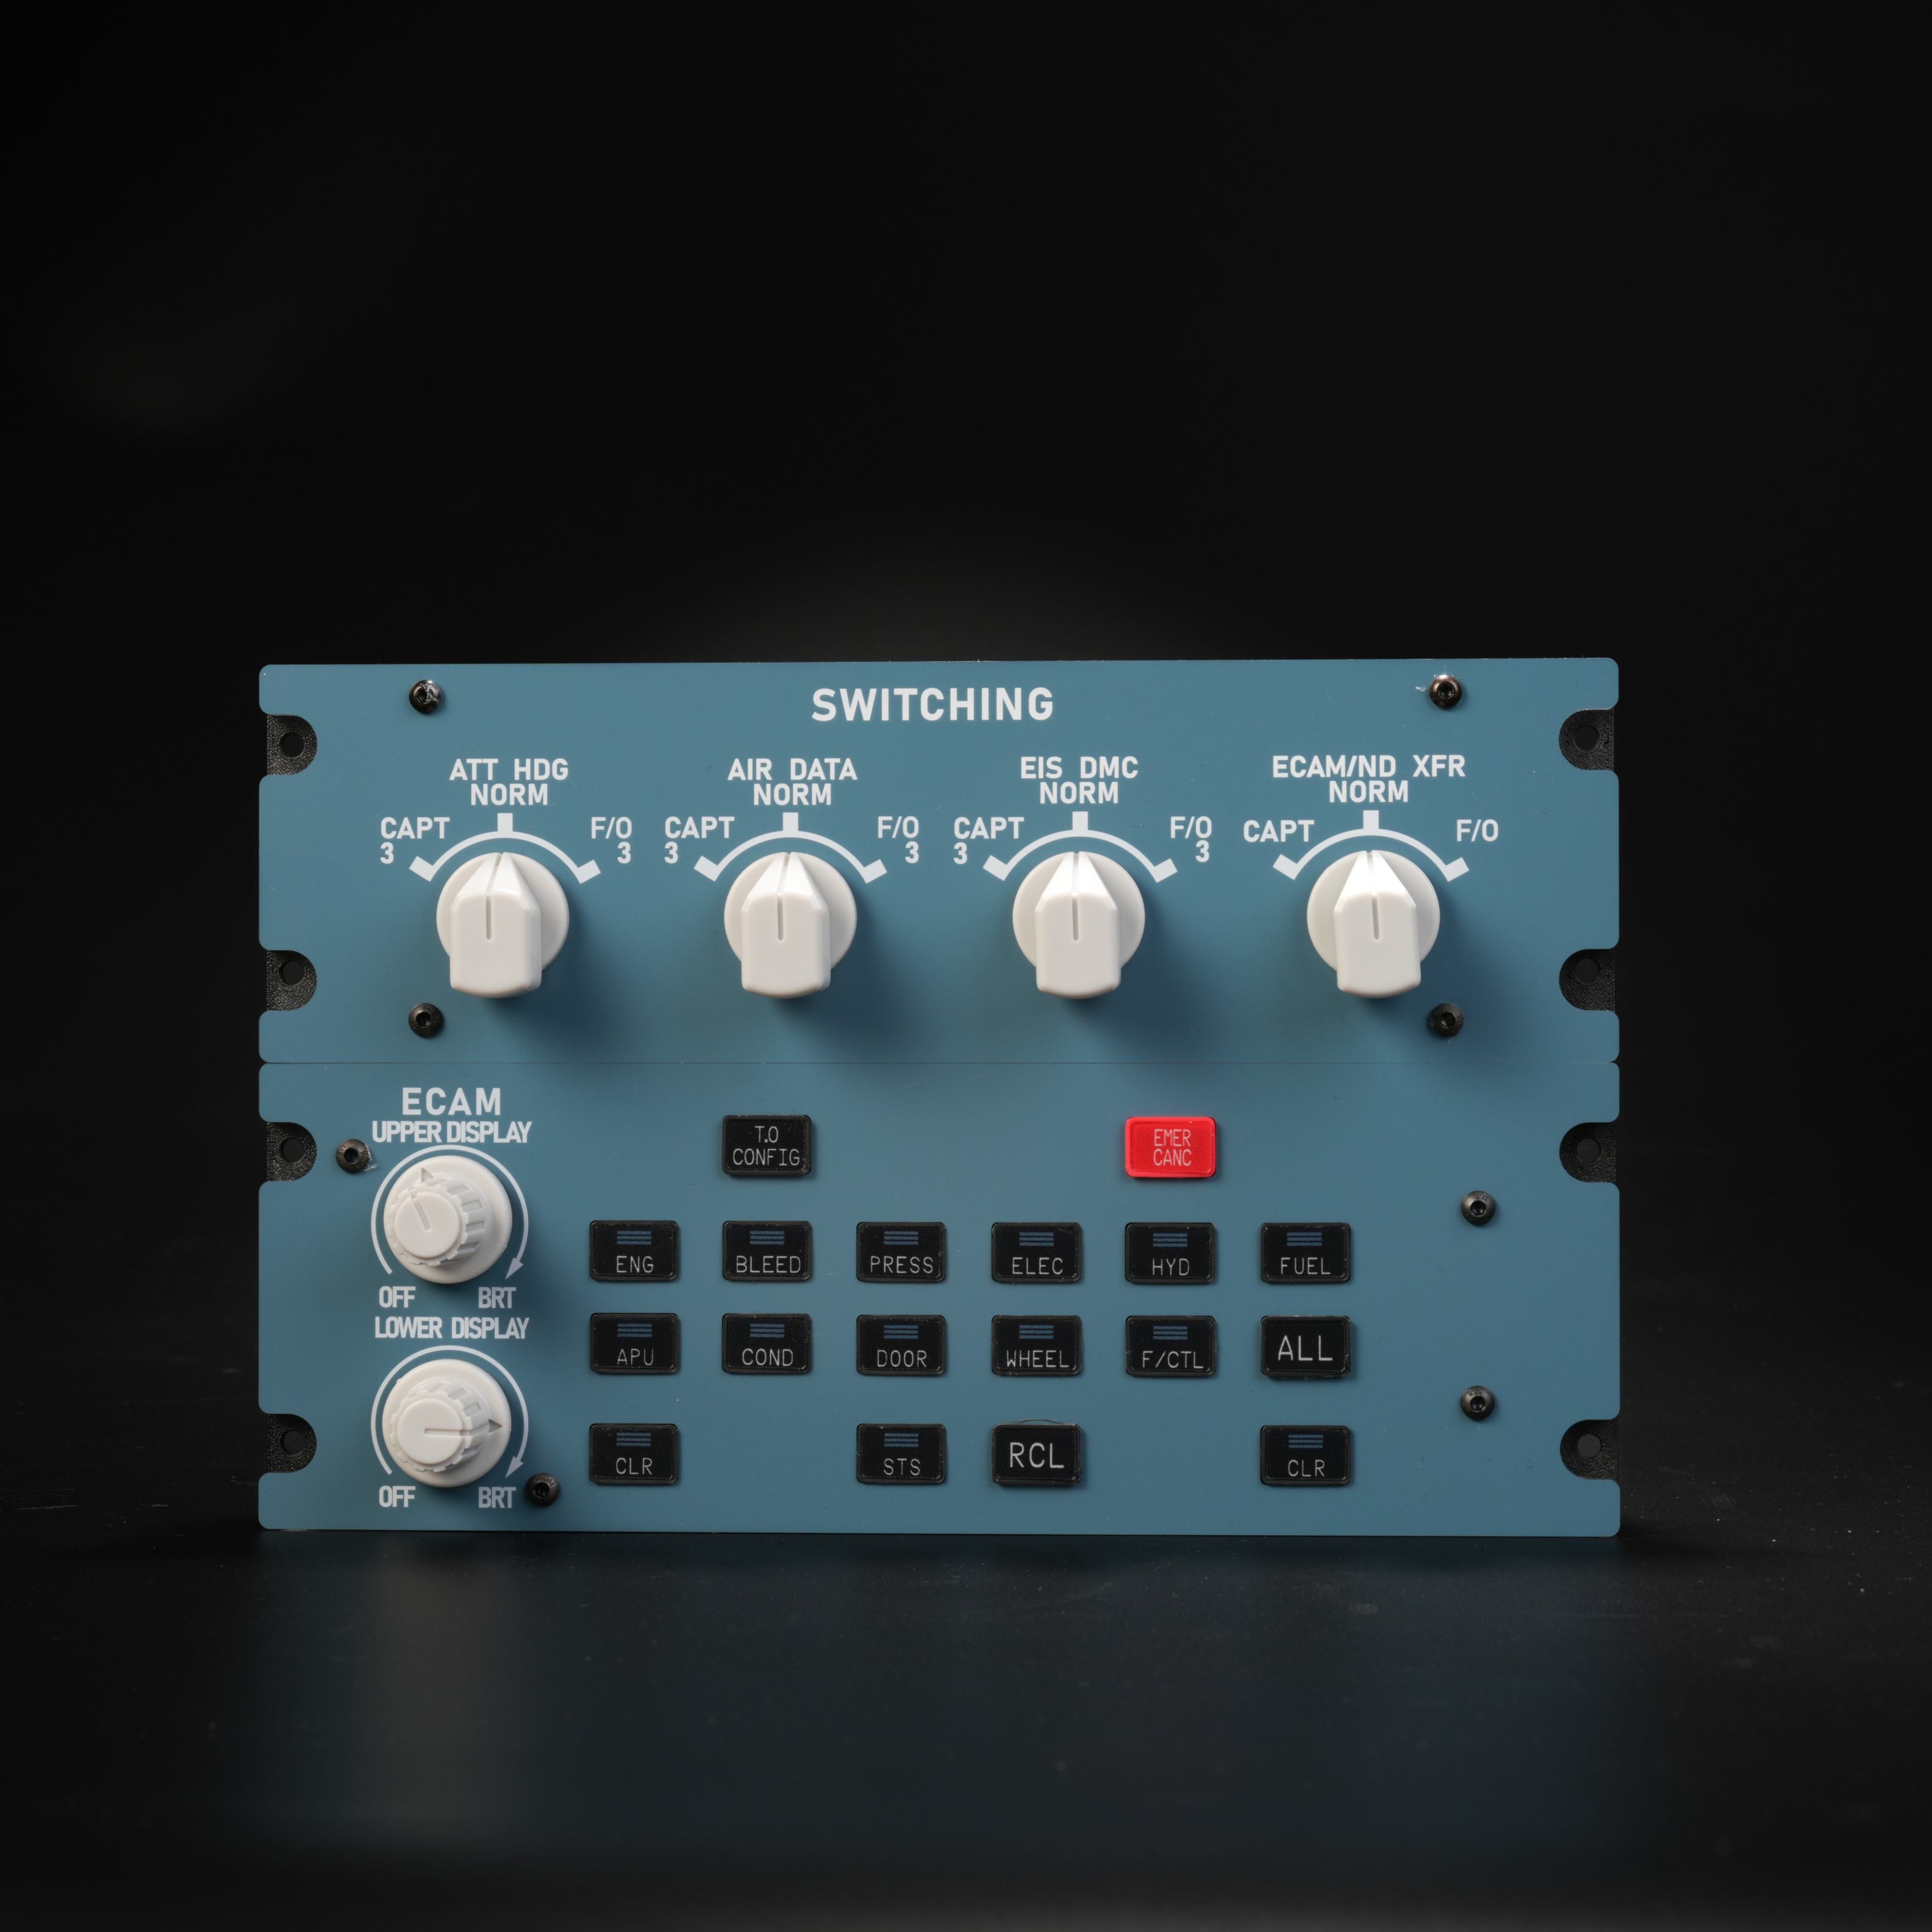
Adds ATT, ADIRS alignment and EIS selection to the upper panel — for pilots building toward the most complete A320 overhead.
The full build & budget
Here's how the complete build stacks up. Prices shown reflect the current sitewide discount; the bundle discount (4+ panels) lowers it further at checkout.
| Panel | Function | Price |
|---|---|---|
| A107 V3.1 | Overhead — all systems | $341.99 |
| A111 ×2 | RMP/ACP radio + audio | $260.82 |
| A112 | Cockpit lighting + WXR radar | $134.99 |
| A113 | ATC + DFDR + lighting | $152.99 |
| A108 V2 | PFD / ND / ECAM display | $269.99 |
| A109 | ATT / ADIRS / EIS | $224.99 |
| Full build | 6 panels · bundle discount applied | ~$1,200 |
Start your Airbus cockpit build today
Begin with the A107 — the panel every serious Airbus build starts with. 10% off sitewide, and bundle 4+ panels for an automatic 14% off.